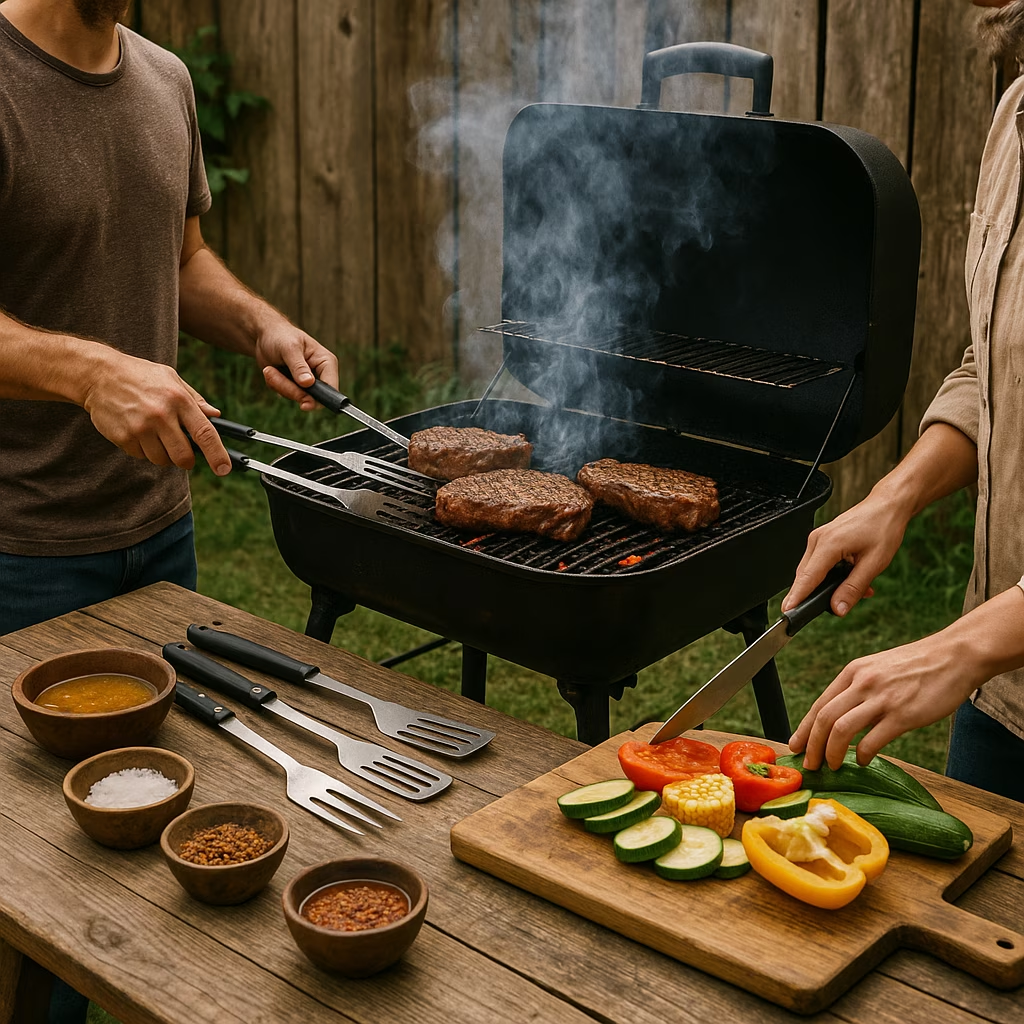
Okay, let's talk about my not-so-secret weapon in the kitchen: infrared thermometers. Seriously, as someone who lives for precision (whether it's hitting that perfect headshot or nailing a steak sear), these gadgets have transformed my cooking from guesswork to pure, beautiful science. Forget just instant-read pens or probe thermometers – when I need to know exactly how hot my cast iron skillet is for that crust, or if my pizza stone is truly screaming hot at 800°F+, my infrared gun is my go-to. But here's the real tea ☕: not all IR thermometers are created equal! After putting 10 models through the wringer (over 300 readings!), I found the true MVPs. Ready to level up your cooking game?"
"
🔥 Why Infrared? It's All About Surface Heat!
Ever wondered how these magic wands work? Unlike your trusty meat thermometer that needs to poke inside, infrared thermometers measure the surface temperature by detecting the invisible thermal energy (infrared radiation) everything above absolute zero emits. Cool, right? Think:
-
Searing perfection: Knowing your pan is exactly 450°F for that steak.
-
Pizza Oven Mastery: Confirming your stone is truly 800°F+ for that authentic Neapolitan char.
-
Griddle Control: Ensuring consistent heat across your entire cooking surface.
-
Frying & Candy Making: Checking oil or sugar syrup temp without dipping a probe.
But here's the catch: Accuracy can be tricky! 🤔 Unlike checking a steak's internal temp and seeing pink, how do you really know if that 800°F reading on your pizza stone is spot on? You kinda have to trust the tool. That's why I became obsessed with finding the most reliable ones.
That ThermoWorks bullseye laser? Game-changer for knowing exactly what you're measuring.
🧪 My Rigorous Testing Process: No Fluff, Just Facts
To find the best, I didn't mess around. I set up a legit testing protocol:
-
Lab-Level Accuracy Test (The Gold Standard):
-
Used a portable infrared calibrator (a fancy blackbody target with known temp & emissivity).
-
Set it to 122°F, 250°F, 375°F, 500°F, and 700°F (stabilizing for 30 mins each!).
-
Took 5 readings from each thermometer at each temp and averaged them. This showed me pure accuracy potential under perfect conditions.
-
Also noted: Ease of aiming, display clarity, laser visibility.
-
-
Real-World Usability Test (The Oven Challenge):
-
Pointed each thermometer at a pizza stone inside a roaring 500°F oven.
-
Took 5 readings, averaging them.
-
Evaluated: Comfort in hand, speed & ease of pinpointing the laser in a hot environment, overall user-friendliness.
-
⚙️ Decoding the Infrared Jargon: What Actually Matters
Before we dive into my top picks, let's break down the specs that make a real difference:
-
Distance-to-Spot Ratio (D:S Ratio / Optical Resolution): This is HUGE! ⚠️ The laser dot is just a guide; the actual area being measured changes size based on how far away you hold the thermometer. A 12:1 ratio means a 1-inch diameter spot at 12 inches away. My top pick has a 30:1 ratio – meaning I can stand further back (safer from oven heat!) and still measure a tiny, precise spot. Models like the Klein IR1 (10:1) struggled here, scanning a huge 3.5-inch diameter spot from 3 feet away!
Higher D:S ratio = measuring a small spot from further away = better accuracy & safety.
-
Laser Targeting: Not all lasers are equal!
-
Single Dot (Most Budget Models): Rough estimate of the center of the measurement zone. Hard to know the exact area covered. (Wintact, Industrial IR Gun use this).
-
Bullseye Circle (ThermoWorks Hi-Temp): My FAVORITE! 👑 Shows the approximate outer edge of the measurement area. So much easier to visualize!
-
Dual Dots (Klein Tools Dual Laser): Projects two dots showing the outer edges of the measurement diameter. Also very helpful!
-
-
Emissivity: The Secret Sauce (or Problem!):
-
Emissivity (0-1 scale) is how well a surface emits its own infrared energy vs. reflecting ambient energy.
-
Shiny surfaces (like stainless steel) have LOW emissivity (~0.1-0.4). Dull, dark surfaces (like cast iron) have HIGH emissivity (~0.7-0.95).
-
Adjustable Emissivity is CRUCIAL! A ThermoWorks expert told me measuring a stainless grill lid with the wrong setting gave a reading of -56°F when it was actually 80°F! 😱 Being able to adjust this (like on the ThermoWorks models) fixes dramatic errors. Fixed emissivity models (usually 0.95) are fine for organic stuff/food but risky for cookware.
Being able to tweak emissivity saved my readings from being wildly off!
-
-
Display Modes (Max/Min/Avg): Super useful in the real world! Since infrared readings can fluctuate slightly based on angle/distance/air particles, seeing the max, min, and average temp across a surface scan gives a much better picture than a single point reading. Both ThermoWorks models excel here.
🏆 My Top Picks: The Infrared Thermometers That Earned My Trust
After all that testing, three stood head and shoulders above the rest:
-
ThermoWorks Hi-Temp Industrial IR With Circle Laser (The Pro King 👑):
-
🔥 Why I Love It: That BULLSEYE LASER! It’s incredibly intuitive. Plus, insane 30:1 D:S ratio lets me stand way back from the oven blast. Accuracy? Flawless in my tests (avg 0.9°F off!). Measures up to a crazy 1400°F – perfect for high-heat pizza ovens. Fully adjustable emissivity & all the display modes (Max/Min/Avg/Diff). Can even pair with probes (sold separately). Built like a tank.
-
🤔 The Catch: It’s expensive and feature-packed – maybe overkill if you're just checking your skillet occasionally. But for precision nerds like me? Worth every penny.
-
💎 Key Specs: 30:1 D:S, Emissivity 0.1-1 (adj), Range -76°F to 1400°F, Avg Accuracy Diff: 0.9°F.
-
-
ThermoWorks Industrial IR Gun (The Smart Mid-Range Pick):
-
🔥 Why I Love It: All the brains of its big brother (full emissivity adjust, Max/Min/Avg modes, great accuracy - avg 1.1°F off), but simpler and more affordable. Still measures over 1000°F. Super reliable.
-
🤔 The Catch: Only a single laser dot, so you need to be a bit more mindful of the measurement area size (12:1 D:S). Not quite the luxury feel.
-
💎 Key Specs: 12:1 D:S, Emissivity 0.1-1 (adj), Range -76°F to 1022°F, Avg Accuracy Diff: 1.1°F.
-
-
Wintact Infrared Thermometer (The Budget Beast 💰):
-
🔥 Why I Love It: SHOCKING accuracy for the price (avg only 0.6°F off in my lab test!). Under $15! Has a unique self-calibration mode (±9°F) if you notice drift over time. Very fast response (<0.5 sec).
-
🤔 The Catch: Single laser only. Emissivity only toggles between 0.8 and 0.95 (not fully adjustable). Annoying beep after each reading. Max/Min modes require holding the trigger. Laser slightly misaligned in my test.
-
💎 Key Specs: 12:1 D:S, Emissivity 0.8 or 0.95, Range -58°F to 986°F, Avg Accuracy Diff: 0.6°F, Self-Calibration.
-
Don't sleep on the Wintact – incredible value for the accuracy!
🚫 The Ones That Didn't Make My Main Squad
-
Klein Tools Dual Laser: Cool dual-dot concept, but clunky interface and max 744°F is too low for serious pizza.
-
ThermoPro: Good specs, but a fatal flaw – readings kept changing after releasing the trigger, leading to massive errors.
-
Etekcity: Budget, but averaged 10°F off in accuracy tests. Max 716°F.
-
Sovarcate/Kizen: Mediocre accuracy, hard-to-read displays, annoying beeps (Kizen was LOUDER!).
-
Klein Tools IR1: Tiny range (-4°F to 752°F), low 10:1 D:S ratio, fiddly controls.
-
Cuisinart: Readings varied wildly (+/- dozens of degrees) based on angle/distance. Unreliable.
🎯 Pro Tips: Getting the Best from Your Infrared Thermometer
Even the best tool needs good technique! Here's what I learned:
-
Perpendicular is Key: Point straight on! Angling distorts the measurement area. Think flashlight straight down vs. sideways.
-
Surface Temp Only: Remember, it can't see inside your food! Still need that instant-read for steak doneness.
-
Beware of Interference: Smoke, steam, dust, glass, water – all can mess with the reading. The laser might shine through, but the measurement won't be accurate.
-
Emissivity Hack: Can't find the emissivity value for your shiny pan? Dab on a thin layer of oil (emissivity ~0.95) and measure that spot!
-
Scan, Don't Spot: Take multiple readings across a surface to get the average temp, not just one point.
-
Grill Temping Trick: Don't point at the grates! They're too thin. Pre-heat a cast iron skillet on the grill for 10 mins, then measure its surface.
-
Stir Liquids: Always stir oil or sugar syrup well before measuring for an even temp.
❓ Infrared FAQs: Quick Answers!
-
Q: Can I use it to check if my chicken is cooked?
- A: NO! 🙅♀️ Only surface temp. You must use an instant-read or probe thermometer for internal food safety.
-
Q: How does it actually work?
- A: It detects infrared radiation (heat energy) emitted by objects, focuses it with a lens, converts it to an electrical signal (via a thermopile), and turns that into a temp reading – all in under a second!
-
Q: How can I check its accuracy at home?
- A: An ice bath is your best bet! Fill a glass with crushed ice and a little water, stir well, wait a few minutes. Point your IR gun straight down at the ice (not the water or glass sides). It should read very close to 32°F (0°C). Note any consistent offset.
-
Q: What's a 'Laser Thermometer'?
- A: Just another name for an Infrared Thermometer! The laser is just a pointer.
So there you have it! My deep dive into the world of infrared thermometers. Whether you're searing, baking pizza, or just want more control over your cooktop, the right IR gun is a total game-changer. For me, the ThermoWorks Hi-Temp with that glorious bullseye is the ultimate precision tool. But if you're dipping your toes in, the Wintact offers insane bang for your buck. Happy (and precise!) cooking! 🍳🔥